


A Little Primer
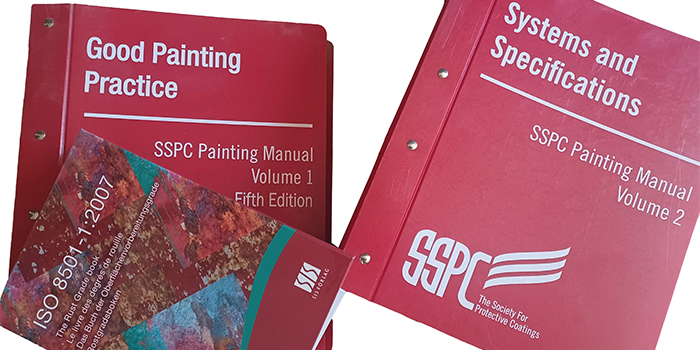
AMPP / SSPC Painting Manual Vol 1 & 2

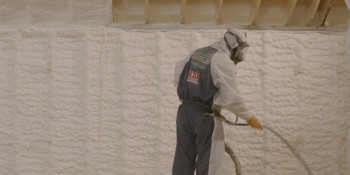
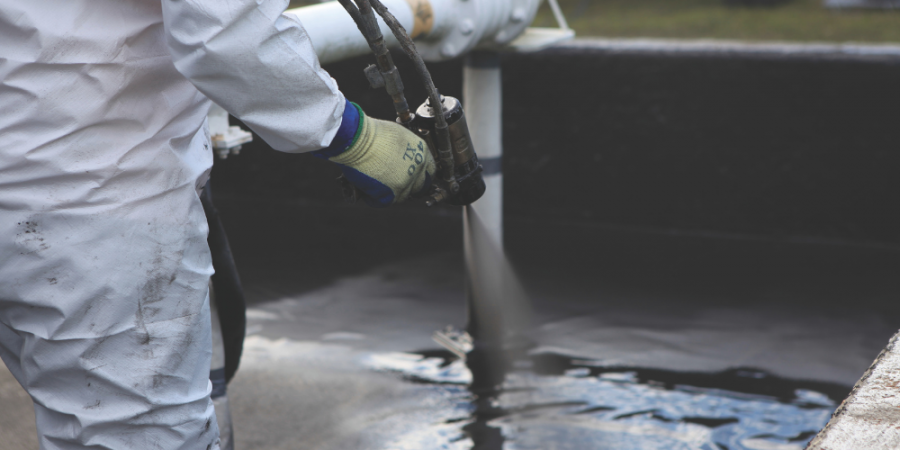
SPRAY FOAM MAGAZINE – Might I opine a bit on one of my pet peeves related to the polyurea technology – Surface Preparation! Contrary to what some may think, the fast set, spray polyurea technology is NOT a surface tolerant coating system. While the old Texaco Chemical Company video from the late 1980s may have shown application over water and ice, this was done to demonstrate that water and cold temperature did not directly interfere with the reaction.
So, the question is, can you spray over water and ice? – YES! But, should you spray over water and ice? – NO! These are substrate contaminants and will interfere with adhesion. Spraying over the “box of water” is a neat trick, but it is not really practical for commercial or industrial application work, unless of course one wants to experience a failure down the road.
One of the major advantages of the fast set polyurea spray technology is the fast set time and return to service. This fast reaction, however, can also be a big disadvantage as the applied material may not be “wetting” the substrate surface well. Couple that with poor or incomplete surface preparation, adhesion failures can and will occur.
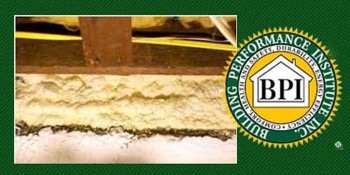
Unfortunately, we have seen quite a few posts related to spray foam work where no substrate evaluation nor preparation is performed. It’s then questioned as to why the foam system is not sticking or shrinking back from the substrate. Of course, it’s assumed, there has to be something wrong with the supplied foam system. As you transition from spray foam systems to polyurea spray application work, substrate evaluation and proper substrate preparation is crucial to successful application work.
We have all heard the reporting that, in the coating and lining application world, about 80 percent of all coating failures are directly related to surface preparation and not the material being used. Surface preparation is part of a procedure within the complete application process. As part of this procedure, one needs to have a good evaluation of the substrate before surface preparation is performed. This would hopefully ensure there are no structural defects, design issues, dissimilar metals in contact, stray currents, active underground springs, or burst pipelines, etc. Some of this will be addressed later under specific type substrates.
Some applicators may not have the ability to perform surface preparation work, and thus rely on a third party company to complete that step. There’s nothing wrong with that, but keep one very important thing in mind – once you start the application of the polyurea system, that means you have accepted that surface preparation by the third party and are now 100 percent liable for the project success.
Where does one find information related to the proper surface preparation required? This is typically part of the project specification and material supplier’s Product Data Sheet. However, these should be compared as in some cases, there have been discrepancies in this area. If these are found in review of the project documentation, this should be clarified BEFORE starting the project. Remember, the specification is the legal document related to the project work.
An excellent source for the various surface preparation standards and information can be found in the AMPP / SSPC Painting Manual Vol 1 & 2, as well as ISO 8501-1 manual).
Concrete substrates
Concrete is the most common material used in construction application and it is the largest substrate that polyurea coating systems are applied to. Just be advised, there is a BIG difference between “cement” and “concrete.” These are not interchangeable terms. Some applicators often inquire as to which is the best polyurea to use over cement? The answer – NONE! Cement is the powder in the bag! (Well, another pet peeve if you will…)
Prior to starting surface preparation, substrate evaluation is very important here. Some of the more common evaluations include soundness check, honeycomb areas, crack evaluation for either static or dynamic cracks, possible inject work for water infiltration, pH of the concrete, and the often misunderstood / misused Moisture Vapor Evaluation (MVE).
MVE testing in concrete substrates can be a complete article in and of itself dedicated to just that subject. One thing to note here – this is testing specifically for indoor concrete flooring applications and can be crucial for determining success of the applied coating system. Please refer to the material supplier’s recommendation, as well as guidance from an industry certified Concrete Coating Inspector with moisture level experience.
This specific testing is often misapplied in various concrete coating applications.
For surface preparation of concrete, the used procedure is AMPP’s SSPC-SP 13 / NACE No. 6 - Surface Preparation of Concrete. For outside the U.S., refer to EN 1504 - Products and Systems for the Protection and Repair of Concrete Structures. In preparation of the concrete, a specific Concrete Surface Profile (CSP) is designated as per ICRI Guideline No. 310.2R-2013. The industry then instructs that for optimum performance in a thick-film applied coating system, a CSP of three to six is suggested. For reference for our “Old Schoolers” here, a CSP-3 is like 100-grit sandpaper, and a CSP-4 is like 80-grit sandpaper.
In the updated SSPC-SP 13 / NACE No. 6, the following information is provided related to various surface preparation techniques and the resulting CSP to except. Keep in mind that if you are using power washing and achieving a high CSP on the concrete, well that tells you something about the condition of the concrete – very weak. [Refer to Table 1]
After proper surface preparation of concrete, one will undoubtedly encounter “bugholes” on vertical concrete surfaces. While these can be coated over and filled with the spray polyurea system (after proper primer use), this will require more material to accomplish, thus affecting the material use and costs. As per AMPP’s NACE SP0892 standard practice: Coatings and Linings Over Concrete for Chemical Immersion & Containment Service, all bugholes shall be pre-filled before installation of said coating and lining system.
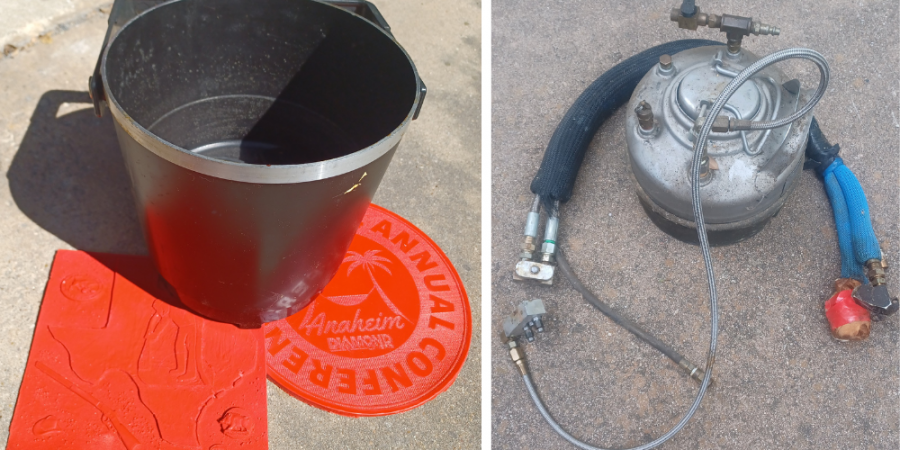
How does one execute this required step? The following are the common industrial methods for filling bugholes. There is a proper procedure for each, and they shall be followed for successful use.
Shall be pre-filled before successful lining work
Methods:
– polymer modified cementitious
– epoxy / aggregate system
– latex-based surfacer (generally not in immersion)
– Spraying an expanding polyurethane or polyurea (should be closed-cell and of appropriate density)
Current proven methods can be labor intensive
Metallic Substrates
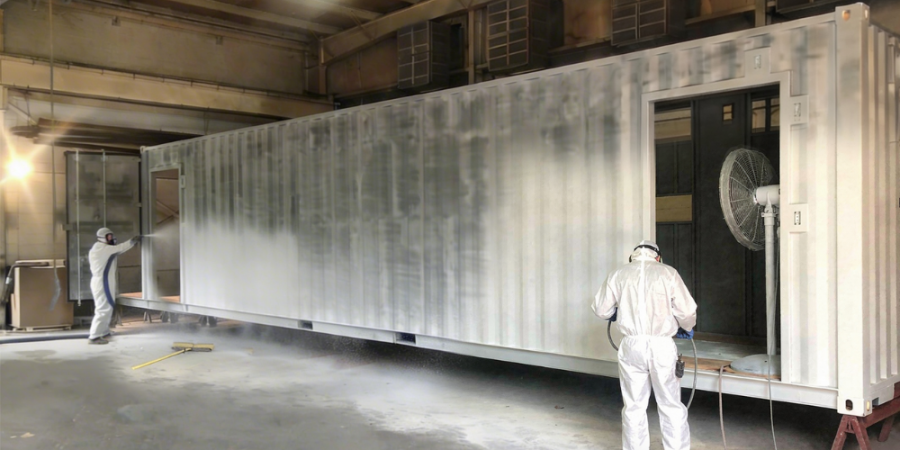
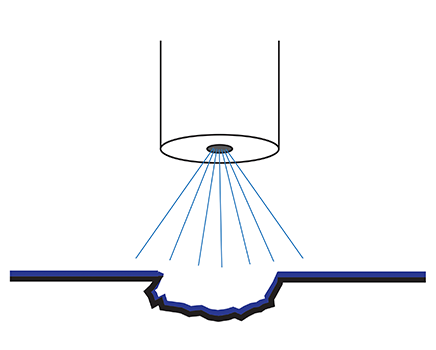
Proper evaluation and surface preparation of metallic substrates, both ferrous and non-ferrous, is also critical, especially when being used in immersion applications. The most common method of surface preparation is Abrasive Blasting (note that I did not use the term “sand blasting” for obvious reasons). Abrasive blasting can be either dry or wet, which includes the vapor and “dust-less” (actually reduced dust) blasting.
For dry abrasive blasting, such as SSPC-SP 10 / NACE No. 2 / ISO 8501-1 Sa 2 ½, it is required that solvent cleaning be done first because the dry abrasive blast does not remove things like soluble salts, oil, etc. It will simply spread these around on the substrate. The use of solvent cleaning, such as the common high-pressure water cleaning will first remove these contaminants and allow for proper dry abrasive blast cleaning. Also keep in mind that a substrate blast profile needs to be noted and the proper procedure does not allow for a profile. That requires specification for profile, as is dictated by aggregate use.
For non-ferrous metals, such as stainless steel, aluminum and galvanize, for example, these substrates can present a challenge for overall adhesion. Surface preparation methods here are very specific to SSPC-SP 16 and SSPC-SP 17 and are NOT the same as those methods for surface preparation of ferrous metals. One thing to keep in mind: NEVER use a ferrous-based media in preparation of non-ferrous based substrates. This will certainly cause issues with adhesion and corrosion down the road.
Remember, after preparing a metallic substrate, DO NOT touch that substrate with your bare hands! Salts, oils, etc. that are on your hands can then be redeposited on that properly prepared substrate and lead to disbonding of the applied polyurea coating.
Other Substrates of Use
Other common substrates where polyurea systems are applied include polyurea itself, foam – spray foam and Expanded Polystyrene (EPS), wood, and various “plastic” material. One usually does not think of polyurea as a substrate, but it can be, especially when applying a different technology of a topcoat system. One needs to be aware of the recoat window of the polyurea, i.e. was it applied on-ratio and is in sound condition. While there is no official surface preparation standard, proper cleaning, possible light abrasion (to remove hard gloss), and either activator solvent treatment or primer is used. The material supplier should direct one of the requirements.
Wood can be treated like concrete, as there is porosity and moisture present. Coating green or freshly treated wood can lead to blistering and disbondment issues. Like concrete, a primer is always suggested for optimum overall performance.
For foam, remember the polyurea spray technology was originally developed for coating application over spray foam. The foam should be clean, with no surface oxidation or water absorption issues. For EPS foam, just be cautious of applying it too thick at once (melting the foam) and shrinkage of the polyurea during cure, as it will distort the foam.
For plastic, such as Polyethylene (PE) and Polypropylene (PP), these are low surface energy substrates and very hard to stick to. Preparation typically involves cleaning, possibly light sanding and then a pre-treatment process such as corona treatment. (And no, this does not mean getting a case of Corona beer and pouring it on the surface of the plastic, this will not work!) A form of “energy” is applied to the surface to then activate that surface. There are special primers that are used as well.
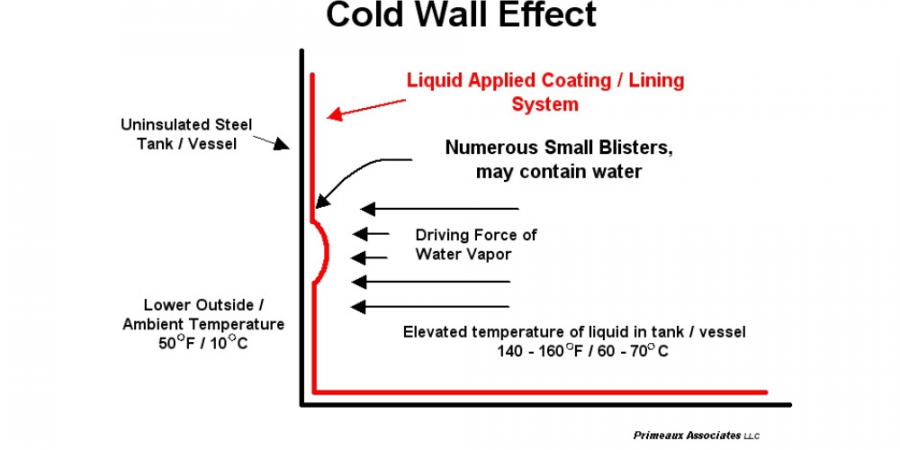
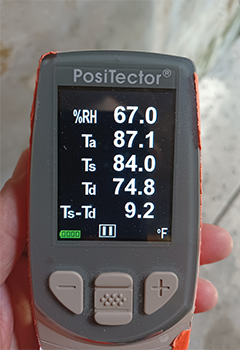
Part of the substrate preparation and application also involves monitoring environmental conditions. This DOES NOT mean looking up the weather condition on your phone, as the actual work / job site can be miles from that weather station reporting the conditions. This check needs to be done on-site, using the proper tools. One of the most important conditions is the relationship of substrate temperature (NOT air temperature) to dew point temperature (NOT humidity). The substrate temperature shall be 5°F (3°C) ABOVE the dew point temperature and rising.
Now there are some additional surface preparation methods used in our industry, such as SG-1 and BR-1… A pause there as I was giving time to look that up. Ah, but one will not find these, just made that designation up! SG-1 applies to Spray Gun 1, as there is air blowing out the front of the polyurea component gun when not spraying and is often used to “blow off” the substrate before spraying. Well, if your air is wet, oiling or leaking seals, one has now deposited contaminants of the substrate that will lead to blistering. BR-1 refers to Broom 1 to sweep. While this can be used to clean off debris, it is not a sole surface preparation method.
While not meant to be a complete discussion on surface preparation as there are other types of substrates where polyurea is used, information has been highlighted here to make one aware of the importance of proper surface preparation. This of course will lead to a successful project application, and positively support our growing polyurea spray industry.
Just remember, You are Only as Good as What you are Sticking To!!!!
For use by SprayFoamMagazine.com & Spray Foam Magazine
See the Business Behind the Story:
Disqus website name not provided.